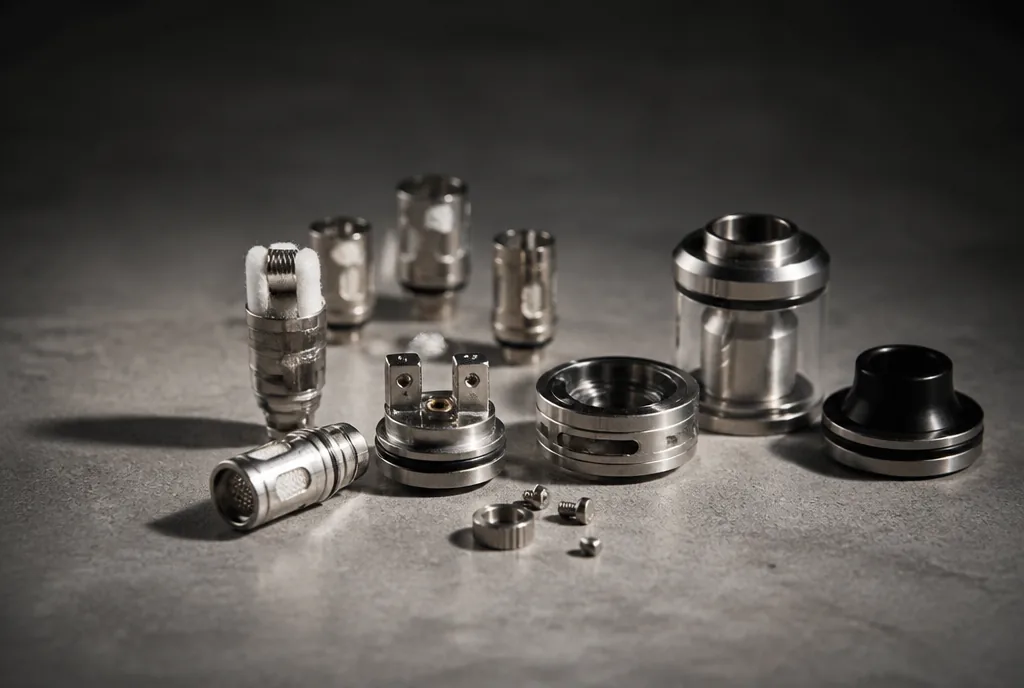
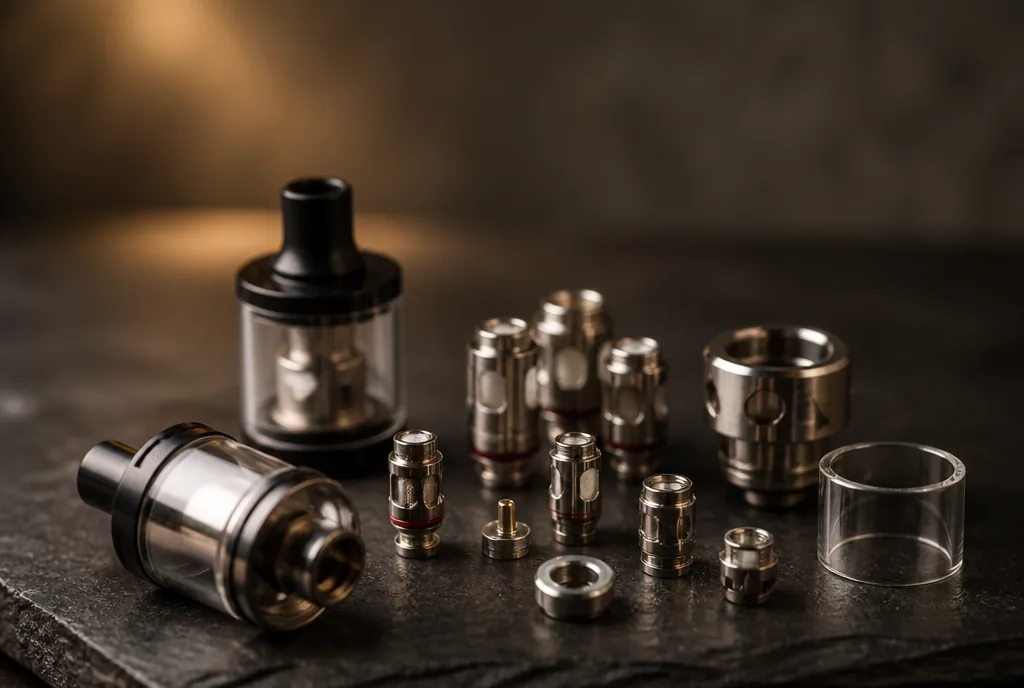
Dripper: full anatomy of the tankless atomiser
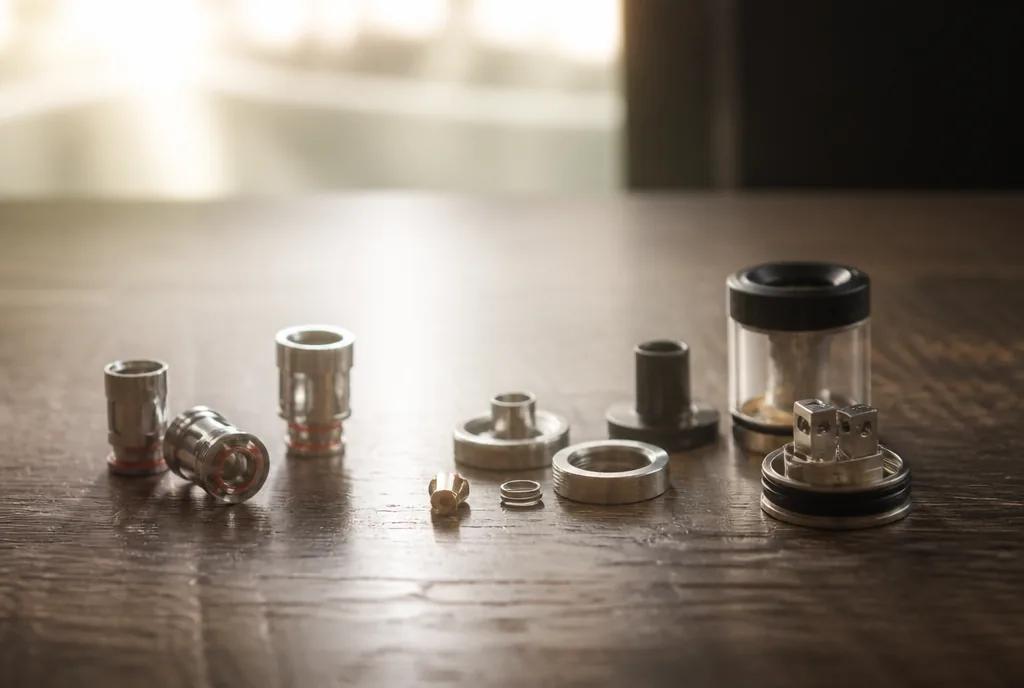
In British shops it sits in its own corner, wedged between the tanks and the build tools. The dripper draws in vapers who find their kit flat and puts off anyone the screwdriver intimidates. Between those two reactions, very little gets said about what actually happens inside that few centimetres of metal. This guide takes the subject from the beginning, from the path of the air to the monthly bill.
What a dripper actually is
A dripper is a rebuildable atomiser with no reservoir: you fit the coil onto a deck yourself, thread cotton through the wraps, then drip e-liquid straight onto that cotton. Its technical acronym is RDA, for rebuildable dripping atomiser, and British retailers file it under exactly that heading.
Two features are enough to place a model in this family: no liquid reserve, and a coil built by hand. Everything else, materials, diameter, number of coils, position of the air inlet, is a matter of which model you pick.
That definition fits in two lines, yet it has knock on consequences for how the device behaves. Those consequences are the interesting part, and they occupy the rest of this guide.
What happens between the drop and the puff
The mechanical sequence is short: liquid soaks the cotton, current heats the wire, the cotton releases its charge, air sweeps the vapour towards the mouthpiece. Each of those four stages behaves differently here than on a tank, and that is where the difference in flavour comes from.
On a tank, the wick crosses calibrated slots and permanently faces a column of liquid. That continuous feed creates a standing compromise between running dry and leaking, which every manufacturer settles by sizing the ports.
On a dripper that constraint disappears. The cotton receives exactly what you pour onto it, no more and no less, and you alone decide when to feed it again. That is the structural reason this format tolerates dense cottons and very thick liquids that calibrated wicks refuse.
The chamber and the path of the air
The cap that closes the deck defines an internal volume, the vaporisation chamber. The smaller it is, the shorter the trip between coil and mouthpiece, and the less time the vapour has to cool and dilute before it reaches you.
The position of the inlets matters just as much as that volume. A side inlet hits the coil from the flank, a bottom inlet crosses it vertically, a top down inlet sweeps it from above. Three circuits, three distinct behaviours on a rigorously identical build.
Surface area completes the picture. Wire wound into wraps heats through its outer surface, which stays modest. A strip of mesh presents a far larger surface for the same bulk, which changes ramp up speed and the density of the result. Mesh calls for a deck designed to take it, and most current models offer both options on the same platform.
The deck, the part that has changed most
Compare a current model with a first generation one and this is where the gap jumps out. The deck is the base on which the coil is clamped and through which current from the battery passes. Its geometry has moved a long way in a decade.
Early decks used drilled posts with screws, into which you slid the coil legs before clamping from the top or the side. The build demanded room above the deck and decent coordination, and a misplaced leg was at least visible.
The postless deck has largely taken over. It removes the posts and offers horizontal slots into which the legs drop before side screws clamp them. British listings now describe that format as the de facto standard on recent releases, which is why nearly every new dripper arrives with a cutting jig in the box.
The gain is not only visual. By clearing the space above the deck, the design allows lower chambers and therefore shorter air paths, which loops straight back to the question of volume above. The trade off is that legs must be cut to the right length before clamping, and a badly seated leg is harder to spot than it was between visible posts.
Single coil, dual coil and bottom feeding
Under a common appearance, models split into configurations whose daily use differs sharply. Knowing them avoids buying an object that does not match the rhythm you had in mind.
A single coil build sits in a chamber drawn tight around it. The configuration favours flavour precision and stays the most economical in liquid as in energy. It is also the easiest to diagnose when something goes wrong, since one circuit means one possible cause to look for on the mod screen.
A dual coil build puts two coils in parallel, which lowers the total value of the circuit and raises the current drawn from the cells accordingly. Volume and warmth increase, liquid disappears twice as fast, and the number of contact points doubles along with the chances of an incomplete clamp.
Some drippers accept a hollow positive post, drilled right through, which lets liquid rise under the deck from a squeeze bottle housed in the mod. Opening the cap disappears in favour of a press on the bottle, and many models now ship that post as an interchangeable part.
The real cost, in money and in constraints
The sum is worth doing honestly, because it rarely is. A hand built coil consumes resistance wire and cotton, two consumables sold on a spool and in a bag, whose contents cover a large number of successive builds.
Against that, a tank consumes factory coils sold singly or in packs. The arithmetic tilts mechanically towards the rebuildable as soon as the replacement rhythm picks up, which explains a good part of the appeal.
The counterpart is not measured in money. It is counted in minutes of building, in repeated gestures through the day to feed the cotton, and in an object you do not drop into a pocket without thinking. A dripper laid flat keeps its liquid; a dripper on its side lets it climb out through the air inlets.
The electrical side, and how to read it
This format finally requires knowing where you stand electrically, and that is a matter of method rather than of numbers copied from a forum. The value of the build must be known before anything is powered, which means measuring it on an ohm meter or on a regulated mod that displays the reading, then confirming it does not drift when the cap goes back on.
Cells come with a manufacturer datasheet, and reading it is the skill worth acquiring. Look for the chemistry, the format, and the continuous discharge rating the manufacturer itself publishes, then treat that document rather than a shop listing as the reference. If the sheet cannot be found, the cell does not belong in a device you build for yourself.
Four habits carry the rest. Use cells in matched pairs of the same reference, age and charge state in a dual battery mod. Check the wrap and the top insulating ring before every insertion, and rewrap at the first nick. Carry loose cells in a plastic case rather than in a pocket with keys or coins. Charge on a charger designed for that chemistry and format, and take the cells out when it is done.
Who this format really suits
The natural audience for the dripper remains the vaper who runs direct lung, wants precise flavour and accepts feeding often. They already own a mod with removable cells, know the value of their builds and can read an error message, whether it reports no circuit at all or a short.
For use on the move, across a working day or while travelling, the trade off is less obvious. The bottom fed format solves part of the problem without removing it entirely.
British rules land elsewhere on this shelf, which surprises people. The 2 ml cap on refillable tanks, the 20 mg/ml nicotine limit and the 10 ml bottles apply to liquid and to tanks, not to a tankless deck, though nothing here is for sale to under-18s. The decisive criterion is finally behavioural rather than technical: this format rewards those who enjoy adjusting their kit and punishes those who want to forget it.
Frequently asked questions
Is a dripper compatible with every mod?
You need a 510 thread and a chip that accepts the value of the intended build. Devices built around proprietary cartridges will not do, for want of a standard connector.
How long does cotton last on this format?
You replace it when the result turns dry or muted, generally after several days of use, and systematically when you change flavour in a marked way.
Can you use ordinary shop bought liquid in one?
Yes, provided it suits direct lung inhalation. Very thick liquids, poorly tolerated by calibrated wicks, pass without difficulty on this format.
What tools do you need to fit a coil?
A screwdriver matched to the deck screws and a pair of flush cutters cover most cases. Recent models often supply a jig for cutting the legs to length.
What separates a dripper from an RDTA?
The RDTA keeps the deck accessible but adds a reservoir underneath it, which feeds the wicks continuously. It therefore sits outside the strict dripping format.
What to weigh before building your first dripper
A dripper comes down to a deck, a cap and a repeated gesture, yet each of those three shifts the final result. Chamber volume, air position and the nature of the heating surface weigh more than the brand engraved on the cap, and our overview of the four atomiser architectures shows where the format sits among the rest.
The format is therefore judged on a rhythm of use rather than on a spec sheet. It remains, across vaping hardware, the point where the user controls the greatest number of parameters, with everything that implies in attention paid in return.
Editorial content for adult readers only. Vaping products usually contain nicotine, a substance that causes addiction. Not for sale to under-18s in the United Kingdom. This article is not a buying recommendation.